Getting Started with Headjack
In this tutorial, we will install Headjack, configure authentication for Claude Code, and spawn your first isolated agent session. By the end, you will understand the core workflow: creating instances, running agents, and managing sessions.
This tutorial takes approximately 10-15 minutes to complete.
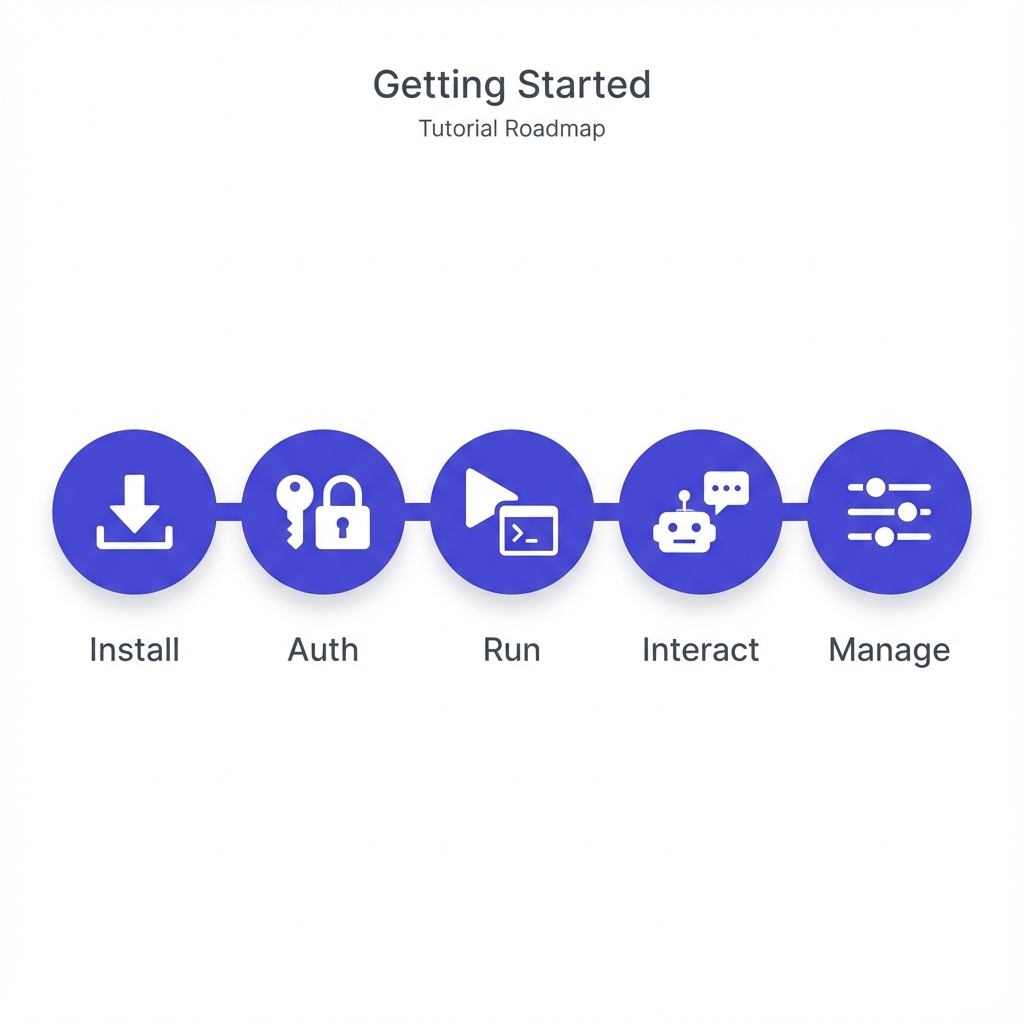
What We Will Accomplish
- Install Headjack on your macOS or Linux system
- Configure authentication for Claude Code
- Create an instance and spawn an agent session
- Interact with the agent and observe its isolated environment
- View running sessions and reattach to them
- Stop and clean up when finished
Prerequisites
Before starting, ensure you have:
- macOS or Linux with a container runtime installed - Headjack supports Docker (default) or Podman
- Git installed - Verify with
git --version - A Claude Pro/Max subscription OR an Anthropic API key - For Claude Code authentication
- A git repository to work in - Any project repository will work
Step 1: Install Headjack
Install Headjack using Homebrew:
brew install GilmanLab/tap/headjack
Verify the installation:
hjk version
You should see output similar to:
headjack version 0.1.0 (abc1234)
Step 2: Authenticate Claude Code
Before spawning a Claude agent, we need to configure authentication. Headjack stores credentials securely in the system keychain and injects them into containers automatically.
Run the authentication command:
hjk auth claude
You will be prompted to choose an authentication method:
Configure claude authentication

Authentication method:
  1. Subscription (uses CLAUDE_CODE_OAUTH_TOKEN)
  2. API Key (uses ANTHROPIC_API_KEY)
Enter choice (1-2):
Option 1: Subscription (Claude Pro/Max)
If you have a Claude Pro or Max subscription:
- Select option 1
- In a separate terminal, run
claude setup-token - Complete the browser login flow
- Copy the token that appears (starts with
sk-ant-) - Paste it when prompted by
hjk auth claude
Option 2: API Key
If you prefer pay-per-use API billing:
- Select option 2
- Enter your Anthropic API key (starts with
sk-ant-api)
When successful, you will see:
Credentials stored securely.
The credential persists across sessions and only needs to be configured once.
Step 3: Create Your First Instance
Now we are ready to spawn an agent. Navigate to a git repository where you want the agent to work:
cd ~/projects/my-app
First, create an instance for your feature branch:
hjk run feat/add-login
This creates the isolated environment. You will see output like:
Created instance abc123 for branch feat/add-login
Instance abc123 ready for branch feat/add-login
Let us break down what happens:
- Branch setup: Headjack creates a git worktree for
feat/add-loginif it does not exist - Container creation: A VM-isolated container is spawned with the worktree mounted at
/workspace - Catalog entry: The instance is tracked for later management
The first run may take a moment while the container image is pulled. Subsequent runs are faster.
Step 4: Start an Agent Session
Now start Claude with your task:
hjk agent feat/add-login claude --prompt "Add a login page to the application"
This creates a session running Claude Code with your prompt. Your terminal attaches to the session, and you will see Claude Code starting up and beginning to work on your task.
You can also start an agent without a prompt:
hjk agent feat/add-login claude
This launches Claude interactively, ready for you to type instructions.
Step 5: Interact with the Agent
Once attached, you are in an interactive Claude Code session. The agent has full access to the repository files within its isolated environment.
You can:
- Watch Claude analyze your codebase and make changes
- Respond to questions the agent asks
- Provide additional instructions as needed
The agent works in its own worktree, so changes are isolated to the feat/add-login branch. Your main branch remains untouched.
Detaching from the Session
When you want to return to your regular terminal without stopping the agent, detach from the session. Press:
Ctrl+B, then d
This is the tmux detach shortcut. It returns you to your host terminal while the agent continues running in the background. All output is captured to a log file for later review.
Step 6: View and Manage Sessions
With the agent running in the background, let us explore session management.
List Instances
View all instances for the current repository:
hjk ps
Output:
BRANCH          STATUS   SESSIONS  CREATED
feat/add-login  running  1         2m ago
List Sessions Within an Instance
To see sessions for a specific branch:
hjk ps feat/add-login
Output:
SESSION      TYPE    STATUS    CREATED   ACCESSED
happy-panda  claude  detached  2m ago    just now
Reattach to a Session
Return to your running agent at any time:
hjk attach feat/add-login
This attaches to the most recently accessed session for that branch. You can also attach without specifying a branch to return to your last session across all instances:
hjk attach
Start a Shell Session
Need to debug or inspect files manually? Start a shell session:
hjk exec feat/add-login
This opens a bash shell inside the container. You can run this alongside your agent session.
Step 7: Stop and Clean Up
When you are finished working on a feature, you have several options.
Stop the Instance
Stop the container while preserving the worktree and session state:
hjk stop feat/add-login
Stopped instance abc123 for branch feat/add-login
Stopped instances can be resumed later. When you run a command against a stopped instance, Headjack automatically restarts it.
Remove the Instance Entirely
To remove an instance completely, including its container and worktree:
hjk rm feat/add-login
This prompts for confirmation:
This will remove instance abc123 for branch feat/add-login.
Worktree at /path/to/.worktrees/feat-add-login will be deleted.
Are you sure? [y/N]
Removing an instance deletes uncommitted changes in the worktree. Ensure you have committed or pushed your work first.
What We Learned
In this tutorial, we:
- Installed Headjack and configured Claude Code authentication
- Created an isolated instance tied to a feature branch with
hjk run - Started an agent session with
hjk agent - Detached from and reattached to running sessions
- Started shell sessions with
hjk exec - Stopped and removed instances when finished
Each agent runs in complete isolation with its own container and worktree. This means you can safely run multiple agents on different branches without them interfering with each other.
What is Next
Now that you understand the basics, explore these resources:
Tutorials
- Your First Coding Task - Walk through a complete development workflow with an agent
How-To Guides
- Manage Sessions - Start agents, attach/detach, and monitor logs
- Build a Custom Image - Create images with your project's dependencies
Reference
- CLI Reference - Complete command documentation
- Configuration - Configure defaults and agent settings